How Do You Put Crown Molding On Kitchen Cabinets - How To Install Crown Molding To Kitchen Cabinets : Set your miter saw to 45 degrees.. When installing on a wall, use the pneumatic nailer to secure the crown molding at the wall studs. Here is the only math. Fasten the crown molding to the top of the cabinet (we used a brad nailer). The molding also comes in handy for closing the gap between the top of the cabinets and the ceiling and for homeowners who want to create a sleek, finished look in their cook space. Check out our video review and demo of adding crown molding to your kitchen cabinets.
You can do it by yourself by adding some decorative wooden or mdf pieces on the top of the wall cabinets. My angles were 45 degrees. Crown molding is decorative trim that is added to the top of your cabinets. For more information, visit www.titebond.com. Empty space above cabinets is a common problem, because the distance fluctuates depending on ceiling height and cabinetry height.
How to Install Kraftmaid Crown Molding | Hunker from img.hunkercdn.com Crown molding can now be nailed to the front piece of the scrap wood. How to install crown molding: Use one long strip for a row of cabinets the same depth then apply wood glue to each strip nail it in place and let dry. Hold up the crown molding on the sides of the cabinet. Sometimes a 3/16 cabinet skin is applied to the end; Crown molding is decorative trim that is added to the top of your cabinets. Measure and mark the front section of crown molding to the cabinet width. Step 6 fill in the nail divots and joints
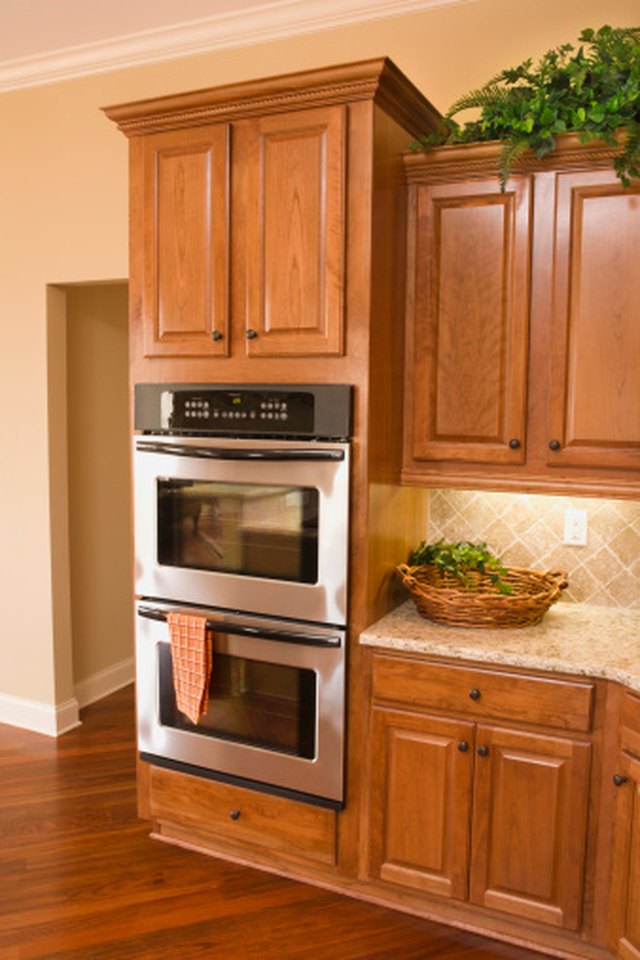
The benefit of installing crown molding is that it draws the eye upward, showcasing the elegance of your cabinets.
If you have high ceilings, we recommend leaving space. By video journalist luis diazwebsite: Pick one side of your cabinet to start with. In this video we will go over some tips and tricks that might help whe. Mark all sides of the cabinet onto which you will be attaching crown moulding. Unless there is ample room above the doors to attach a crown molding, or if you are using a very wide crown molding, you will need to install a nailer strip to support the installation. Check out our video review and demo of adding crown molding to your kitchen cabinets. Cut the molding according to the measured length. From the sides of the cabinet, nail the filler pieces in the place. The molding also comes in handy for closing the gap between the top of the cabinets and the ceiling and for homeowners who want to create a sleek, finished look in their cook space. Tape the corners to hold the glued corners. I attached the crown molding to the ripped down 1x6 with 3/4 brads. You can glue them down to fix or simply nail them to fix them perfectly to the cabinets.
Then stand back and look at your crowning achievement. Use a tape measure to measure the length from one side of the cabinet to the other. You can glue them down to fix or simply nail them to fix them perfectly to the cabinets. With cabinets with face frames (as opposed to european style cabinets), the face frame sticks our past the side of the cabinet about 3/16 of an inch. Tape the corners to hold the glued corners.
How to Install Kraftmaid Crown Molding | Hunker from img.hunkercdn.com Here is the only math. Position the tape measure at the level of each area where you want to add crown molding. For scarf joints, do not turn the boards upside down. Empty space above cabinets is a common problem, because the distance fluctuates depending on ceiling height and cabinetry height. Sometimes a 3/16 cabinet skin is applied to the end; From the sides of the cabinet, nail the filler pieces in the place. The molding also comes in handy for closing the gap between the top of the cabinets and the ceiling and for homeowners who want to create a sleek, finished look in their cook space. Cut at one mark, then move the molding along to the next mark.
When installing on a wall, use the pneumatic nailer to secure the crown molding at the wall studs.
Measure and mark the front section of crown molding to the cabinet width. The molding also comes in handy for closing the gap between the top of the cabinets and the ceiling and for homeowners who want to create a sleek, finished look in their cook space. Next you set your jig to reflect that angle (in my case 52): Cut the molding according to the measured length. If you want your cabinetry to look more appealing rather than bland look, then yes, kitchen cabinets need crown molding. By video journalist luis diazwebsite: For the front filler piece, drill from underneath the inside of the cabinet, and then secure that piece with wood screws. Check out our video review and demo of adding crown molding to your kitchen cabinets. And it isn't really 'hard math' since my 5 year old could do it.divide that angle in half (since you want to your crown to meet right in the center of your angle): You can glue them down to fix or simply nail them to fix them perfectly to the cabinets. Crown molding is decorative trim that is added to the top of your cabinets. When installing on a wall, use the pneumatic nailer to secure the crown molding at the wall studs. House flipping brothers dave and rich show how to install kitchen cabinet crown molding and trim with tips.this video covers all aspects of cabinet molding i.
In this video we will go over some tips and tricks that might help whe. And it isn't really 'hard math' since my 5 year old could do it.divide that angle in half (since you want to your crown to meet right in the center of your angle): Start by assessing the cabinets. Titebond no run, no drip wood glue provided by titebond. You can use 1 x 4 lumber, and rip these into two or three strips.
52 best images about Kitchen on Pinterest | Stone island ... from s-media-cache-ak0.pinimg.com Fasten the crown molding to the top of the cabinet (we used a brad nailer). Cut the molding according to the measured length. You can glue them down to fix or simply nail them to fix them perfectly to the cabinets. You can do it by yourself by adding some decorative wooden or mdf pieces on the top of the wall cabinets. With cabinets with face frames (as opposed to european style cabinets), the face frame sticks our past the side of the cabinet about 3/16 of an inch. Measure out and cut a length of crown molding that is at least a few inches longer than the side of your cabinet. Use one long strip for a row of cabinets the same depth then apply wood glue to each strip nail it in place and let dry. Here it has been used to fill an empty space between the cabinets and the ceiling.
Measure out and cut a length of crown molding that is at least a few inches longer than the side of your cabinet.
Here is the only math. Hold up the crown molding on the sides of the cabinet. Pick one side of your cabinet to start with. Hold the crown molding on the sides of the overlay cabinet and make sure the filler pieces are fit tightly against the wall. Crown molding can either bond with the ceiling or allow for space above the cabinet. Fasten the crown molding to the top of the cabinet (we used a brad nailer). Ask this old house general contractor tom silva installs crown molding on kitchen cabinets with full overlay doorssubscribe to this old house: When installing the top of a cabinet, space the finish nails about 12 to 16 inches apart. Now use your pencil to mark the dimensions from the inside to cut the molding. With cabinets with face frames (as opposed to european style cabinets), the face frame sticks our past the side of the cabinet about 3/16 of an inch. For more information, visit www.titebond.com. Be sure the pieces are tight against the wall. Measure the angle of the inside corners with a sliding bevel.